Unlocking The Power Of Best Raspberry Pi Remote IoT Solutions
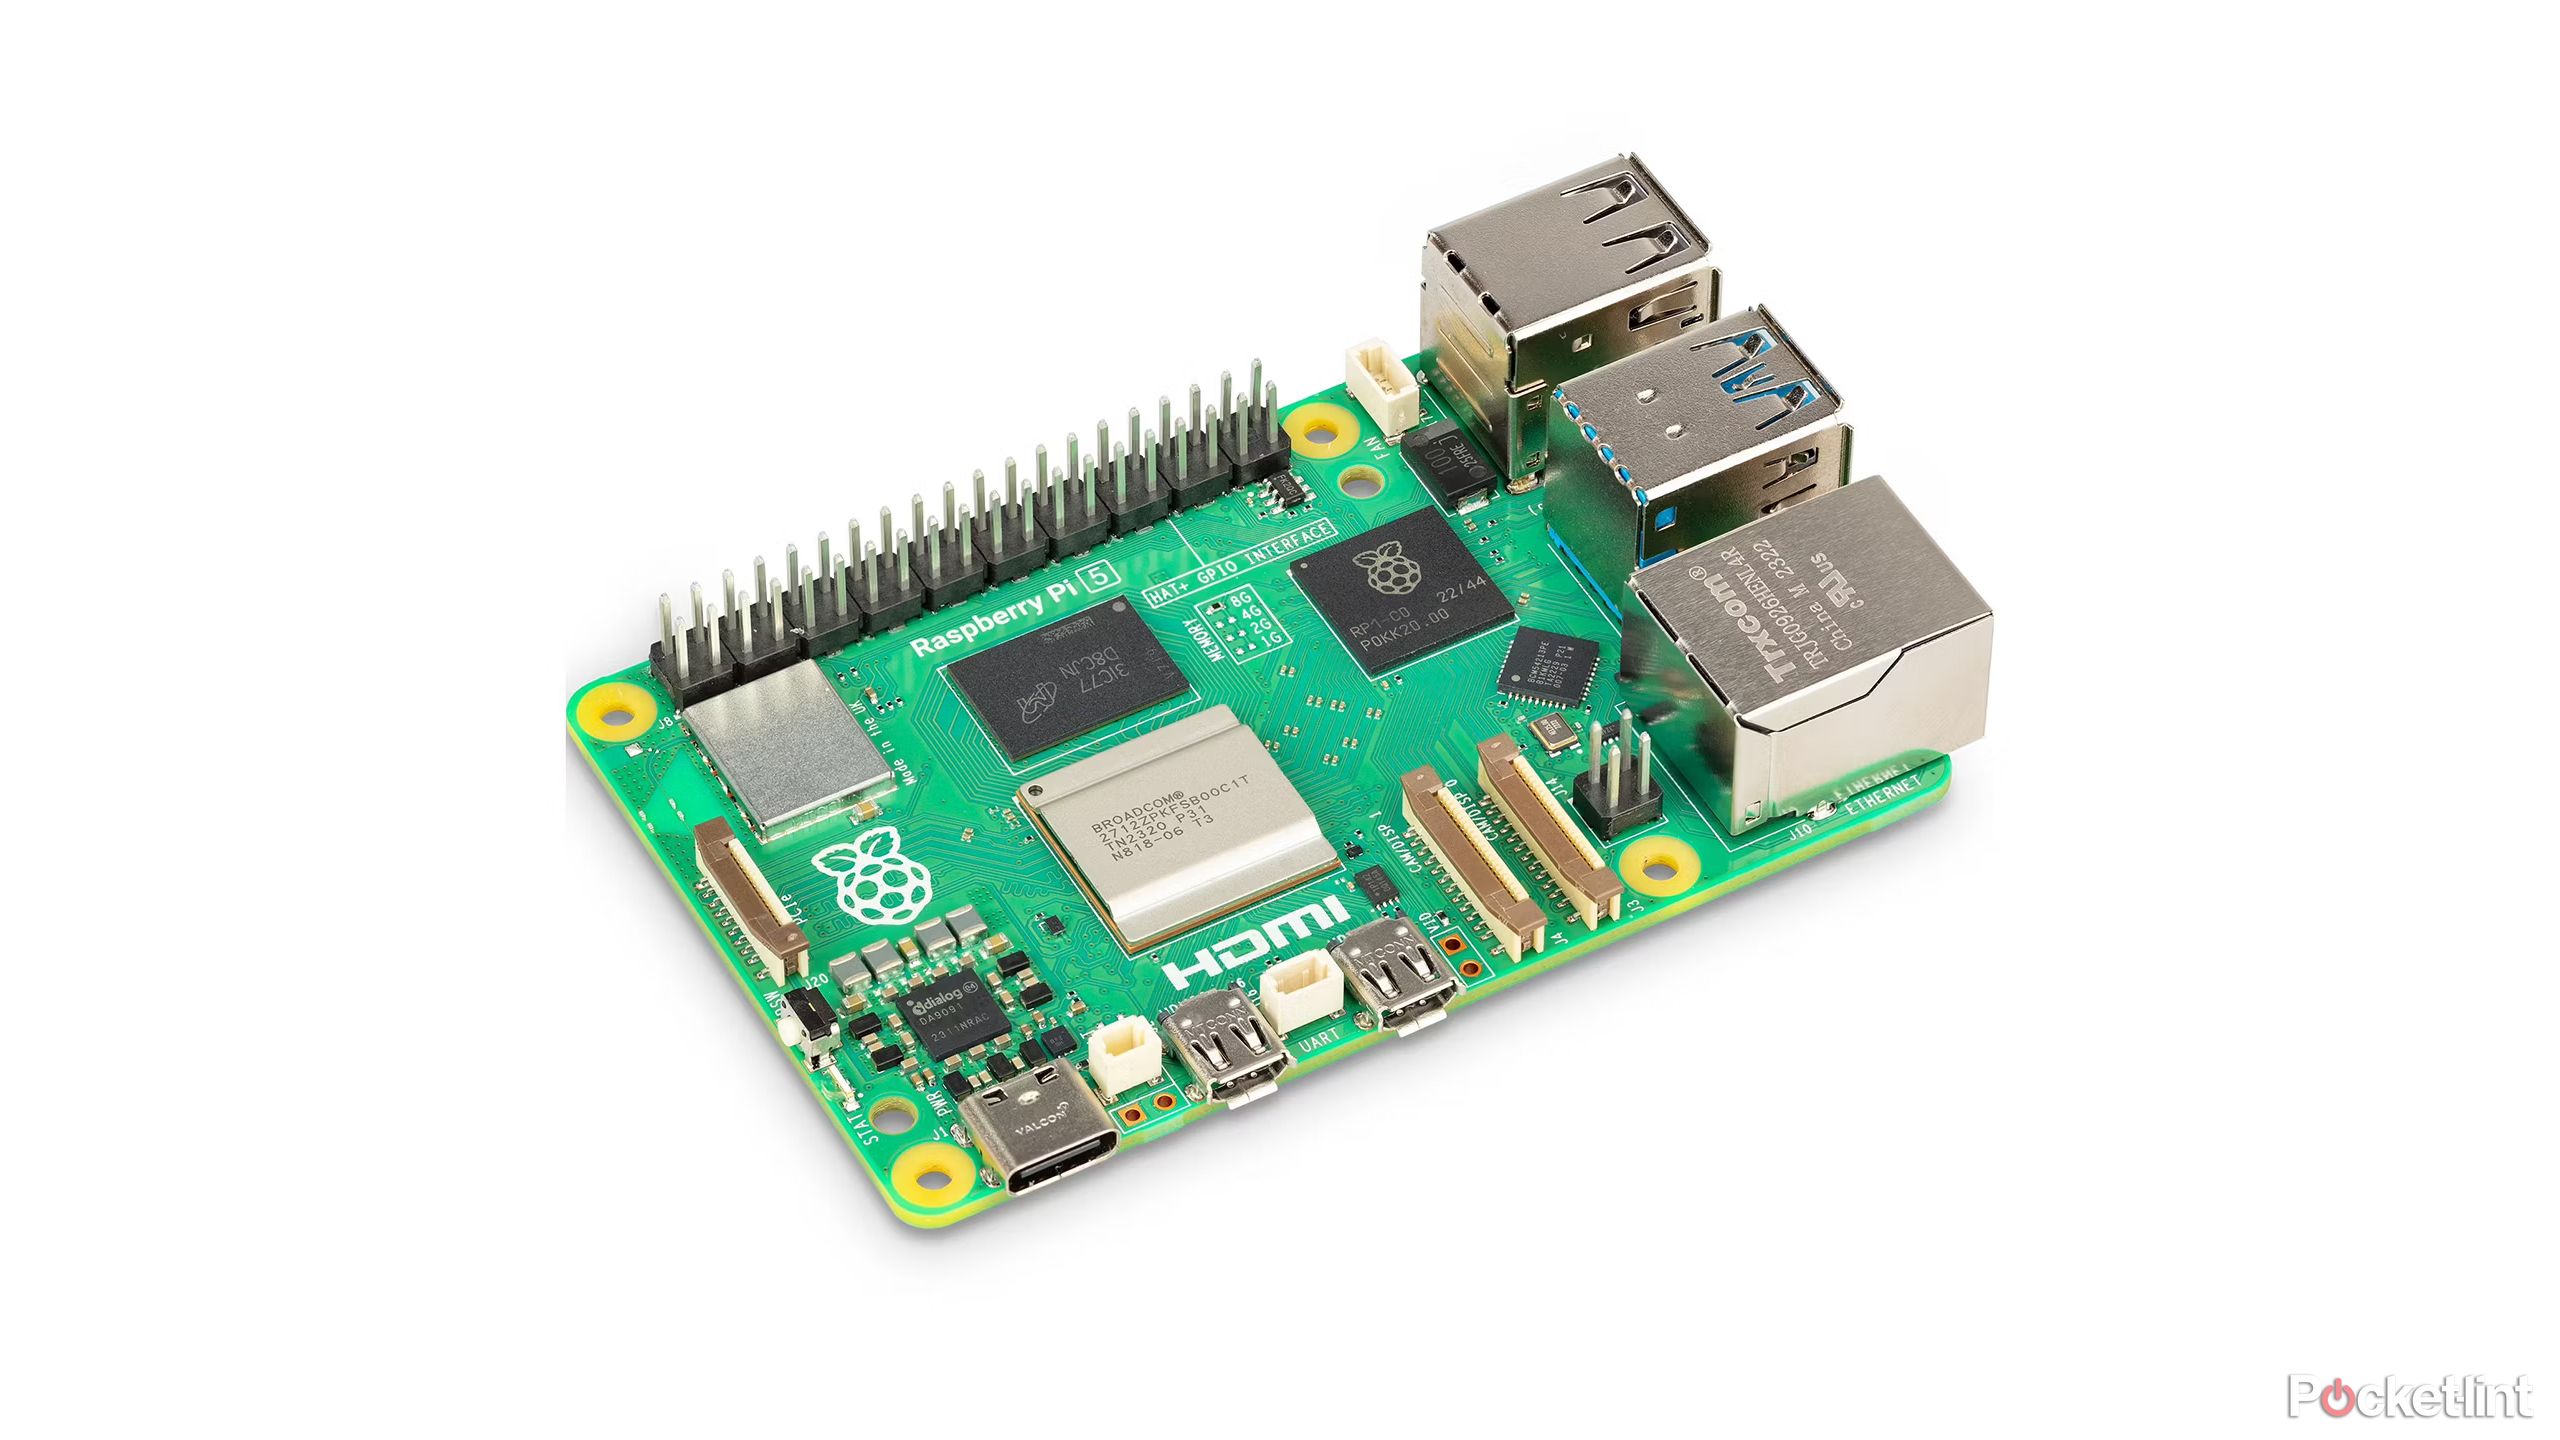
Imagine having a tiny device the size of a credit card that can connect your entire home or business to the internet of things (IoT). That's exactly what Raspberry Pi brings to the table, and when combined with remote IoT capabilities, the possibilities are endless. Whether you're a tech enthusiast, a DIY hobbyist, or a professional developer, Raspberry Pi offers a world of opportunities to build innovative remote IoT projects.
Now, here's the deal: when we talk about the best Raspberry Pi remote IoT setups, we're not just throwing around buzzwords. This powerful little computer has become the go-to choice for developers worldwide. With its versatility, affordability, and open-source community support, Raspberry Pi is more than just a gadget—it's a game-changer.
But hold up—before you dive headfirst into the world of remote IoT, there are a few things you need to know. From setting up your Raspberry Pi to optimizing its performance for remote applications, this article will guide you through every step. Think of it as your personal cheat sheet for mastering Raspberry Pi remote IoT solutions.
Read also:Deephotlink Your Ultimate Guide To Unlocking Hidden Depths Of The Web
What Makes Raspberry Pi Ideal for Remote IoT?
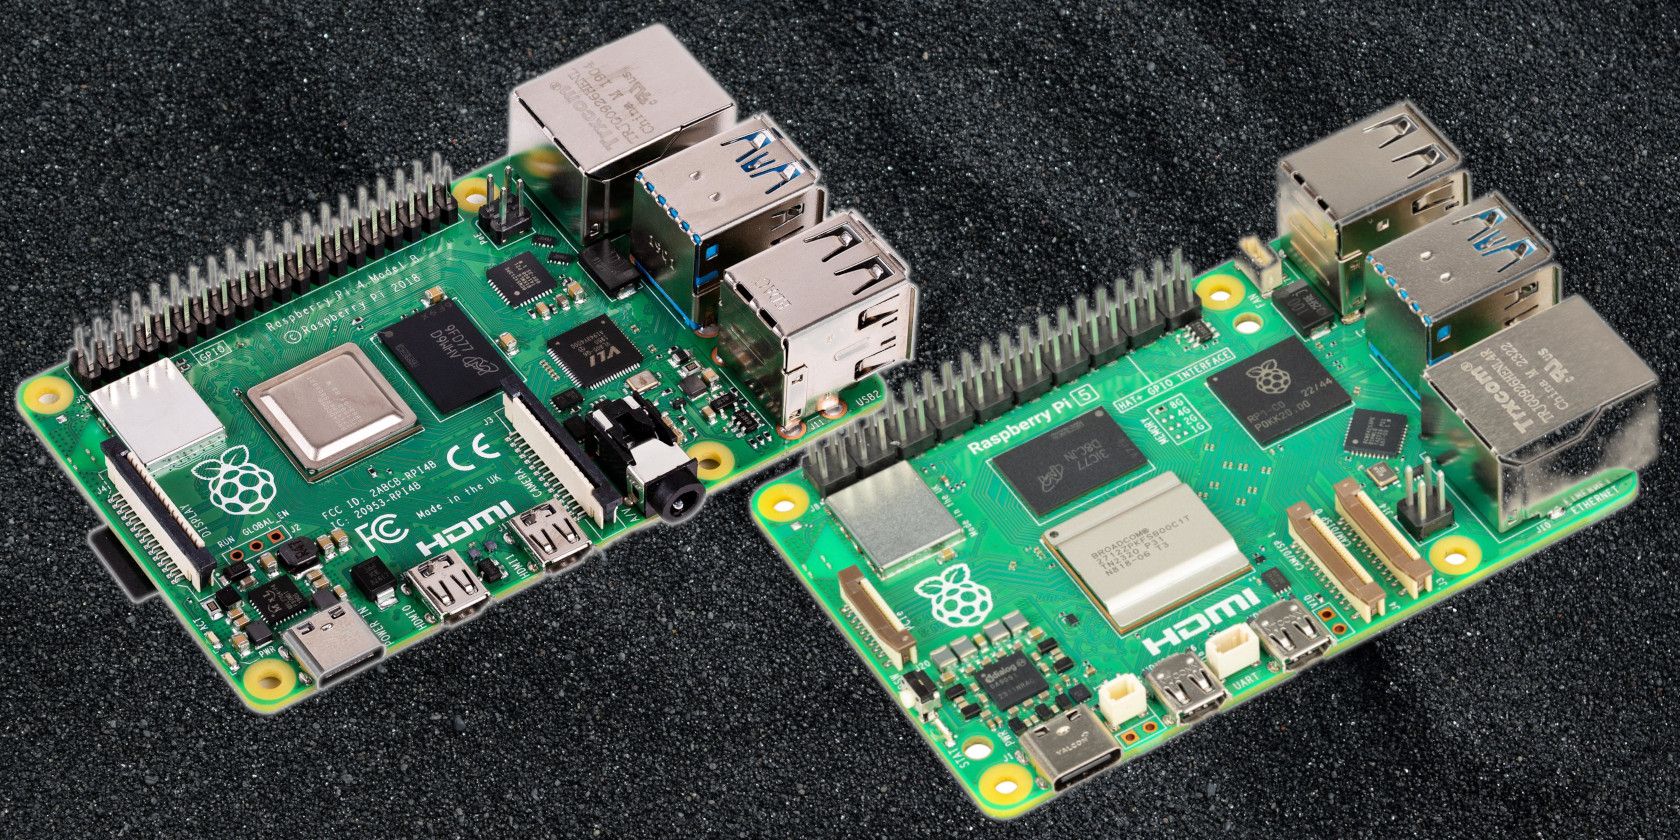
Let's get one thing straight—Raspberry Pi isn't just another piece of hardware. It's a powerhouse designed specifically for projects that require flexibility, scalability, and affordability. Here's why it's the perfect fit for remote IoT:
- Compact Design: Small enough to fit in your pocket, yet powerful enough to run complex applications.
- Affordable Pricing: With models starting at under $35, it's accessible for hobbyists and professionals alike.
- Vibrant Community: A massive online community ensures you'll never run out of support or inspiration.
- Customizability: From home automation to industrial applications, Raspberry Pi can be tailored to suit your needs.
So, whether you're looking to monitor your garden's soil moisture levels remotely or set up a smart security system for your business, Raspberry Pi has got you covered. And that's just the tip of the iceberg.
Why Remote IoT Matters in Today's World
In today's hyper-connected world, remote IoT isn't just a luxury—it's a necessity. Think about it: with billions of devices connected to the internet, the demand for remote monitoring and control has never been higher. And that's where Raspberry Pi shines.
Here's a quick breakdown of why remote IoT matters:
- Increased Efficiency: Automate repetitive tasks and focus on what truly matters.
- Cost Savings: Reduce the need for on-site maintenance and save big bucks in the long run.
- Enhanced Security: Monitor and control your systems from anywhere, ensuring maximum safety.
- Scalability: Start small and scale up as your needs grow.
And let's not forget the environmental benefits. By optimizing resource usage and reducing waste, remote IoT solutions contribute to a more sustainable future. Who wouldn't want that?
Setting Up Your Raspberry Pi for Remote IoT
Now that we've established why Raspberry Pi is the ultimate tool for remote IoT, let's dive into the nitty-gritty of setting it up. Follow these steps, and you'll be well on your way to creating your own remote IoT masterpiece.
Read also:Unseenmms Unlocking The Hidden Power Of Secure Messaging
Step 1: Hardware Requirements
Before you start tinkering, make sure you have all the necessary hardware components. Here's a checklist to help you out:
- Raspberry Pi Board (Model 3B+, 4, or Zero W recommended)
- MicroSD Card (16GB or higher)
- Power Supply (official Raspberry Pi power adapter)
- Wi-Fi Dongle (optional for older models)
- HDMI Cable and Monitor (for initial setup)
- Keyboard and Mouse
Got everything? Great! Let's move on to the next step.
Step 2: Installing the Operating System
Choosing the right operating system is crucial for your Raspberry Pi remote IoT setup. Here are a few popular options:
- Raspberry Pi OS: The official OS, perfect for beginners and advanced users alike.
- Ubuntu Server: Ideal for server-based IoT applications.
- Home Assistant OS: Specifically designed for home automation projects.
Once you've decided on an OS, follow the official Raspberry Pi documentation to install it on your microSD card. Trust me—it's easier than it sounds.
Best Raspberry Pi Remote IoT Projects
Now that your Raspberry Pi is all set up, it's time to explore some exciting remote IoT projects. Here are a few ideas to get your creative juices flowing:
Project 1: Smart Home Automation
Who doesn't want a smart home? With Raspberry Pi, you can control everything from your lights to your thermostat using your smartphone. Use protocols like MQTT or HTTP to communicate with your devices and create a seamless user experience.
Project 2: Remote Weather Station
Turn your Raspberry Pi into a weather monitoring powerhouse. By connecting sensors for temperature, humidity, and air pressure, you can collect real-time data and share it with the world. Bonus points if you integrate it with a public API for even more insights.
Project 3: Industrial IoT Monitoring
For the more ambitious among you, consider using Raspberry Pi for industrial applications. From monitoring machinery performance to predicting maintenance needs, the possibilities are endless. Just remember to follow proper safety protocols when working in industrial environments.
Security Best Practices for Raspberry Pi Remote IoT
Security should always be a top priority when working with remote IoT setups. Here are some best practices to keep your Raspberry Pi safe:
- Use Strong Passwords: Avoid using default credentials and opt for complex passwords instead.
- Enable Firewall: Protect your device from unauthorized access by configuring a firewall.
- Keep Software Updated: Regularly update your operating system and applications to patch any vulnerabilities.
- Encrypt Communication: Use SSL/TLS to encrypt data transmitted between your Raspberry Pi and remote devices.
By following these simple steps, you can ensure that your Raspberry Pi remote IoT setup remains secure and reliable.
Optimizing Performance for Remote IoT
Performance optimization is key to ensuring your Raspberry Pi remote IoT projects run smoothly. Here are a few tips to help you get the most out of your device:
Tweak Your OS Settings
Adjusting your operating system settings can make a big difference in performance. For example, disabling unnecessary services and reducing graphical overhead can free up valuable resources.
Use Efficient Protocols
Choose communication protocols that are lightweight and efficient. MQTT, CoAP, and HTTP/2 are great options for remote IoT applications.
Monitor Resource Usage
Keep an eye on your Raspberry Pi's CPU, memory, and disk usage. Tools like htop and glances can help you identify and resolve bottlenecks.
Scaling Your Raspberry Pi Remote IoT Setup
As your remote IoT projects grow, you may need to scale your Raspberry Pi setup. Here's how you can do it:
Cluster Multiple Raspberry Pi Devices
By clustering multiple Raspberry Pi units, you can distribute the workload and improve overall performance. This approach is especially useful for large-scale industrial applications.
Integrate Cloud Services
Cloud platforms like AWS IoT, Google Cloud IoT, and Microsoft Azure IoT offer powerful tools for managing and scaling your IoT deployments. Consider integrating them into your setup for enhanced capabilities.
Use Edge Computing
Edge computing allows you to process data closer to the source, reducing latency and bandwidth usage. Implementing edge computing principles can significantly improve the performance of your Raspberry Pi remote IoT projects.
Data Collection and Analysis
Collecting and analyzing data is an essential part of any remote IoT setup. Here's how you can do it effectively:
Set Up a Database
Use a database system like MySQL, PostgreSQL, or InfluxDB to store and manage your data. This will make it easier to analyze and visualize later on.
Implement Data Visualization Tools
Tools like Grafana and Kibana can help you create stunning visualizations of your IoT data. Whether you're tracking temperature trends or monitoring machine performance, these tools have got you covered.
Automate Data Processing
Automating data processing tasks can save you time and effort. Use scripting languages like Python or Node.js to streamline your workflows and focus on what truly matters.
Community Resources and Support
One of the greatest advantages of using Raspberry Pi for remote IoT is the vibrant community surrounding it. Here are some resources to help you along the way:
- Raspberry Pi Forums: A treasure trove of knowledge and advice from fellow enthusiasts.
- GitHub Repositories: Find open-source projects and code snippets to inspire your own creations.
- YouTube Channels: Learn from experts and watch step-by-step tutorials to enhance your skills.
Don't be afraid to ask for help or share your own experiences. The Raspberry Pi community thrives on collaboration and innovation.
Conclusion: Your Journey into Raspberry Pi Remote IoT
And there you have it—a comprehensive guide to mastering the best Raspberry Pi remote IoT solutions. From setting up your device to scaling your projects, this article has covered everything you need to know to get started.
Remember, the key to success in remote IoT is continuous learning and experimentation. So don't be afraid to try new things, make mistakes, and learn from them. The Raspberry Pi community is always here to support you along the way.
So what are you waiting for? Grab your Raspberry Pi, fire up your creativity, and start building your dream remote IoT projects today. And don't forget to share your experiences with the world. Who knows—you might just inspire someone else to embark on their own Raspberry Pi journey!
Table of Contents
- What Makes Raspberry Pi Ideal for Remote IoT?
- Why Remote IoT Matters in Today's World
- Setting Up Your Raspberry Pi for Remote IoT
- Best Raspberry Pi Remote IoT Projects
- Security Best Practices for Raspberry Pi Remote IoT
- Optimizing Performance for Remote IoT
- Scaling Your Raspberry Pi Remote IoT Setup
- Data Collection and Analysis
- Community Resources and Support
- Conclusion

. That's exactly what Raspbe)